Solo Presets:
Here you can establish the viewing angles for each microphone. The configuration wizard will guide you step by step. Start by clicking on START.
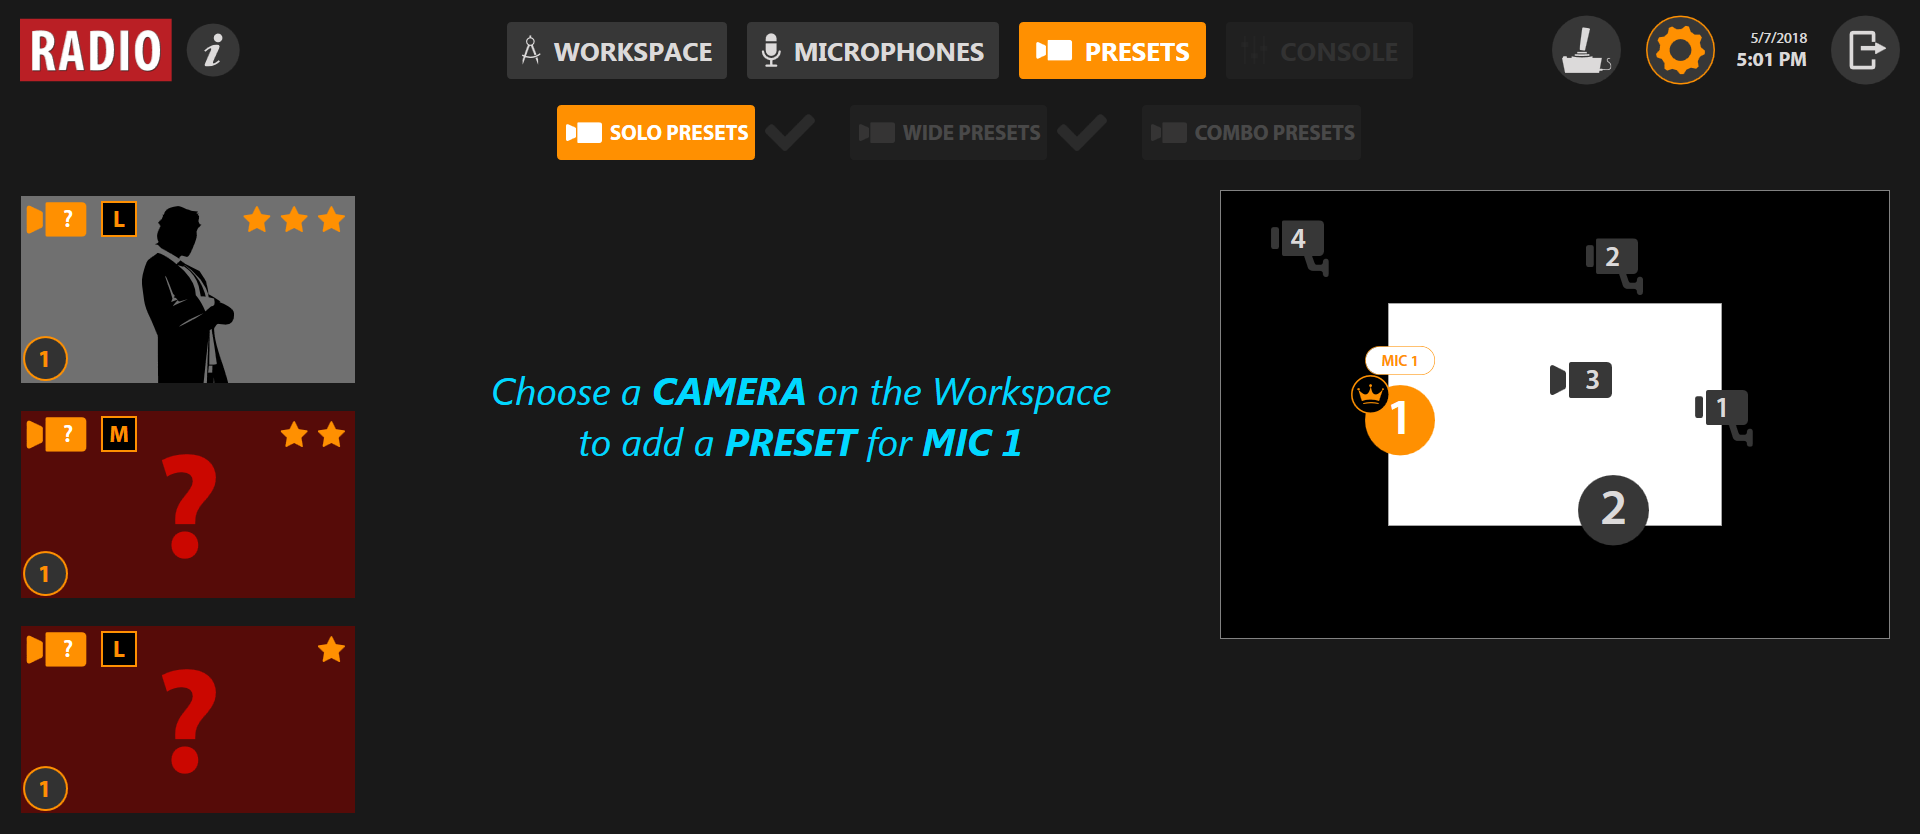
Choose a camera by clicking on the Workspace.
If you choose a PTZ camera, the camera controls will appear.
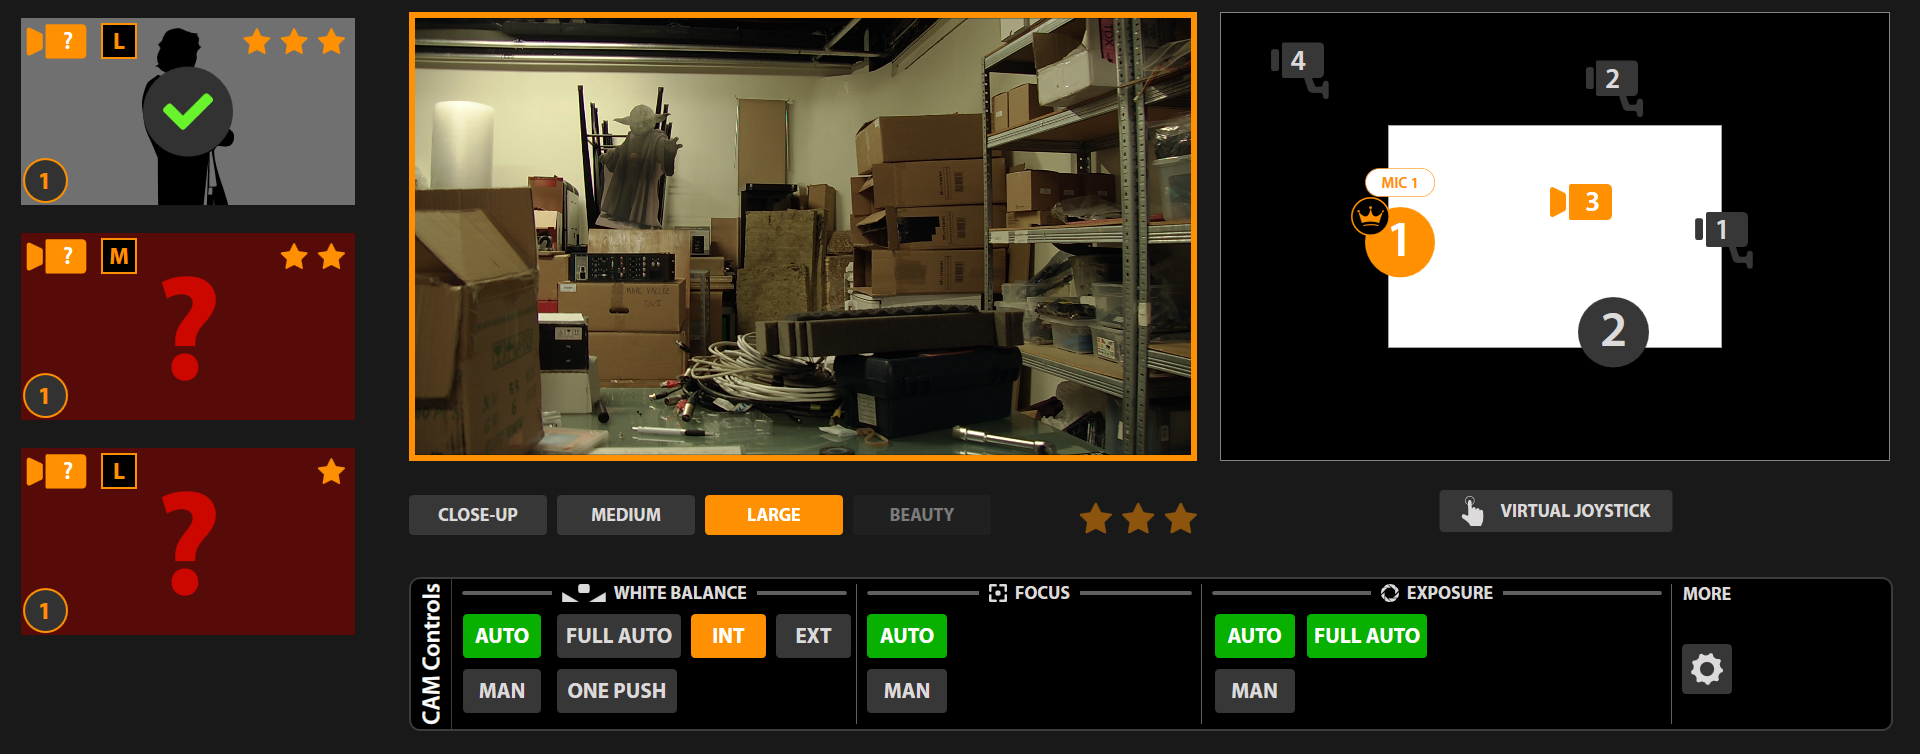
To find out more on the camera control settings, go to Cameras Control.
If you do not have a joystick, click on VIRTUAL JOYSTICK.

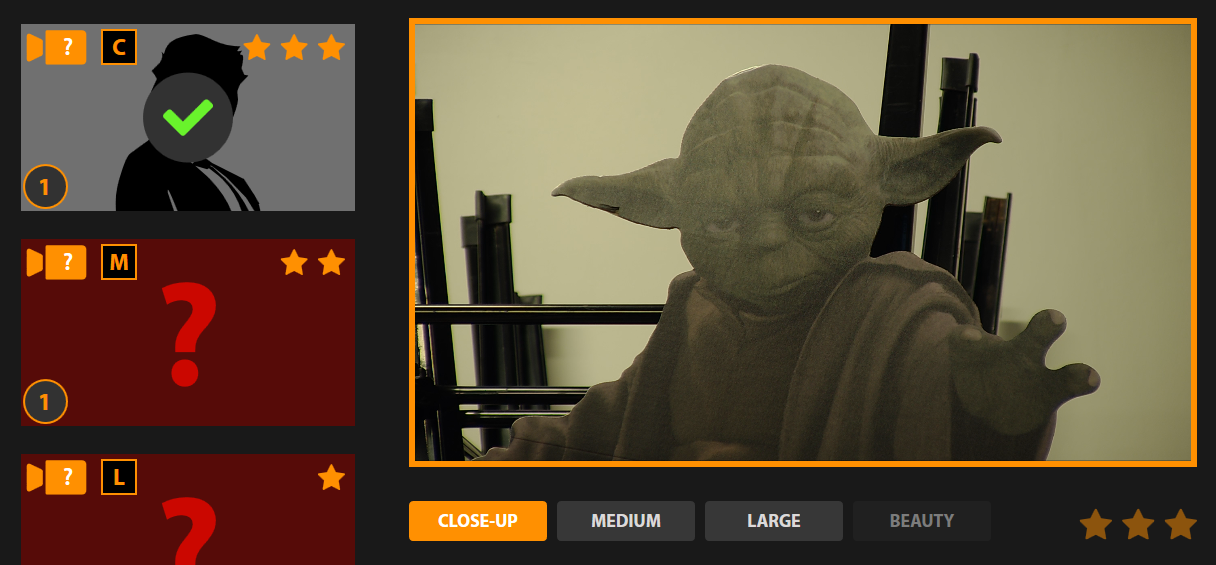
Enter the shot type by selecting one of the following choices:
- CLOSE-UP: This is a close-up shot. Generally, you are seeking to cover the face down to the top of the person's shoulders
- MEDIUM: This is a medium shot. You can see the person’s hands and the table.
- LARGE: for a wider shot type.
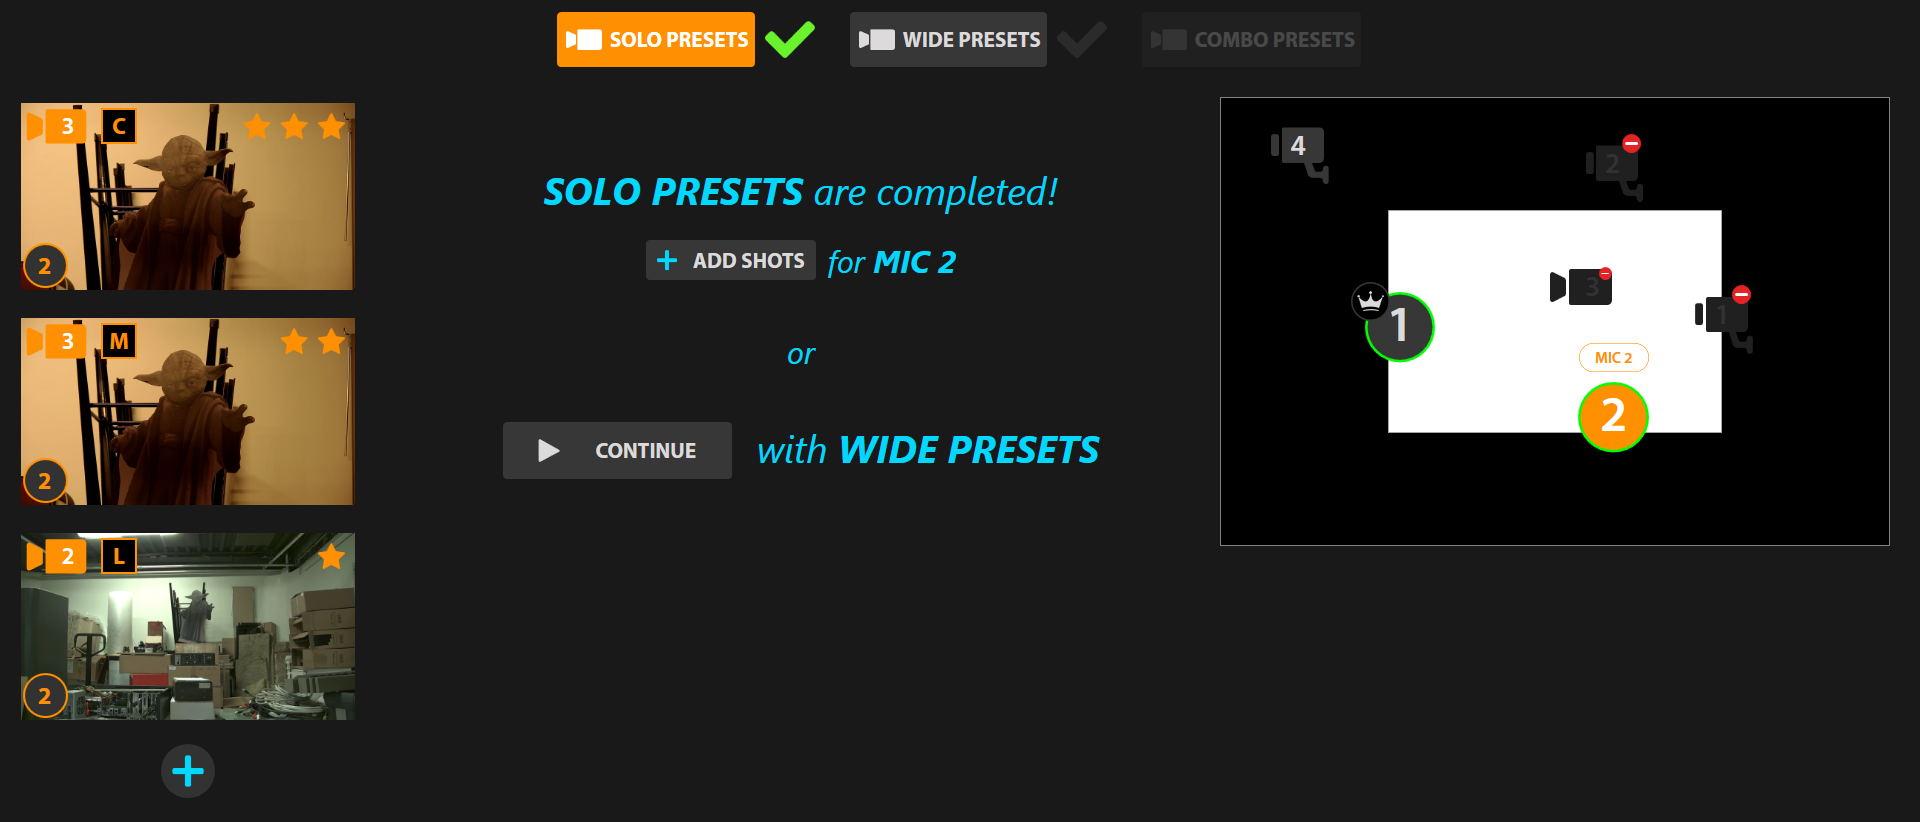
The wizard will make you diversify the cameras. This allows the AI to remain reactive by always having several options available (if the camera associated with the desired preset is already online and filming the previous microphone for example).
A star system between 1 and 3 allows you to establish priorities in the choice of shots. You can for example establish that Medium is the No.1 choice by attributing 3 stars to it.
Once you are satisfied with your preset, click on the thumbnail to the left to validate it.
If all the microphones are circled with a green outline, they have been configured with sufficient presets, you can then move to the next step of preset configuration: Wide Presets: