PROGRAM LINKER
Creation of links between Programs and Scenes
In this section, you will associate SCENES with program events.
Click on the tab  .
.
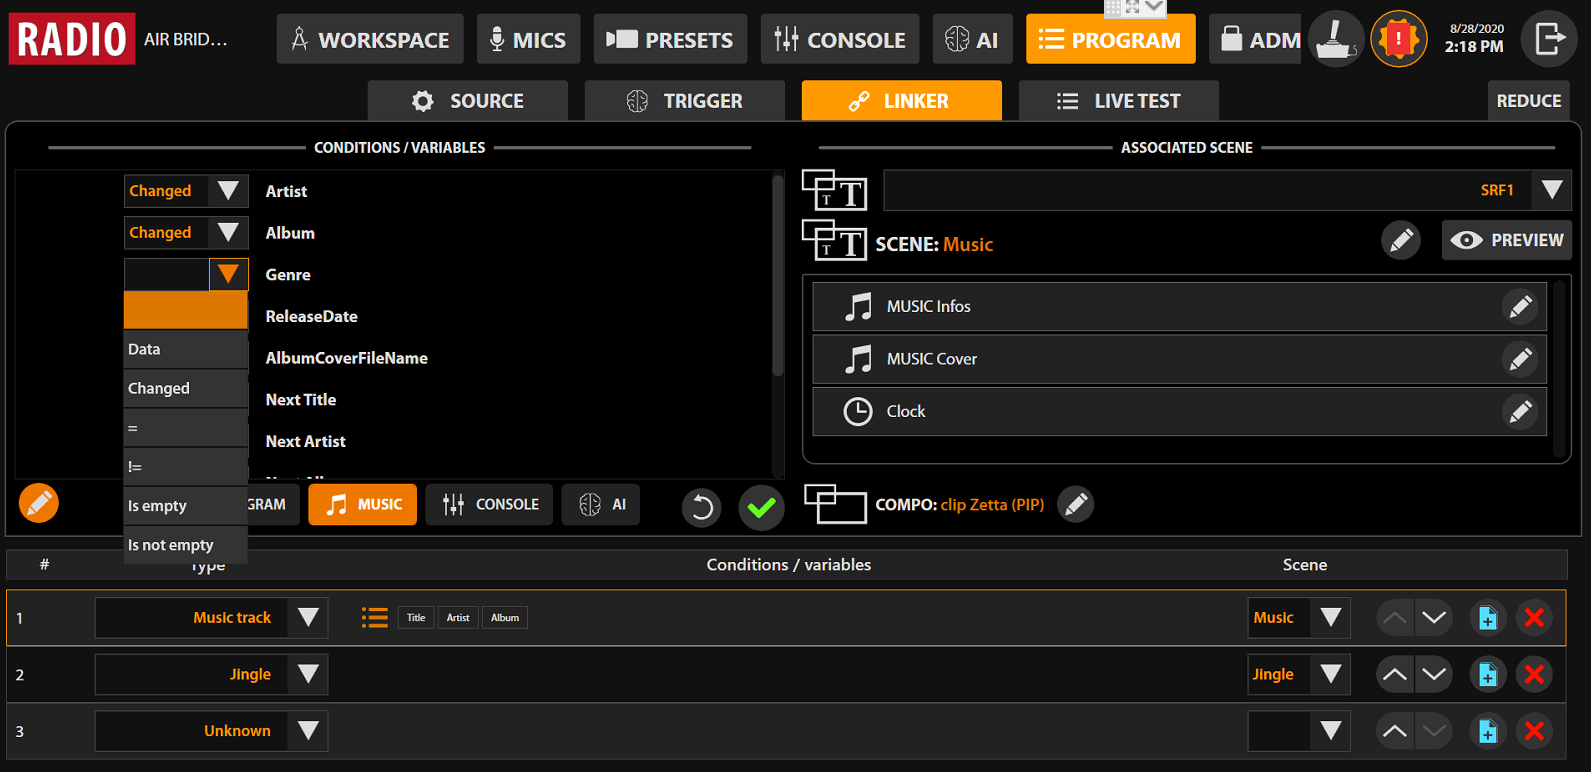
The top part of the interface is separated in two parts:
- CONDITIONS / VARIABLES:
These are the conditions to be met regarding the program’s variables. - ASSOCIATED SCENE:
The scene corresponding to the conditions established on the left, following the current association line (see the table below).
Creation of a scene association
In order to start a scene association, you have to create an entry in the table by clicking on  at the bottom left-hand corner of the screen.

Choice of an event category
The first drop-down menu allows you to specify the expected event category of the program. You can specify as desired:
- Generic live program: this category is generally used if the Playout Automation Software is on pause or in Talk mode.
- Commercials / ads: most advertisements
- Jingle: jingles, depending on the Playout Automation Software, this can include different pre-recorded content
- News flash: a general information flash, few types of Playout Automation Software support it
- Traffic flash: a traffic information flash: only certain Playout Automation Software supports it
- Weather flash: a weather information flash, few types of Playout Automation Software support it
- Recorded piece: pre-recorded content
- Auto-promotion: certain systems differentiate certain adverts for your station in this category
- Music Track: music
- Metadata: information not corresponding to an audio item
Choice of a scene to be associated

Then, select an existing scene from the list or create a new scene by clicking on  to the right.
The scenes editor then allows you to compose your scene by combining the title items and potentially a composition.
Here is an example of a scene created and associated with a “Music Track” category event.
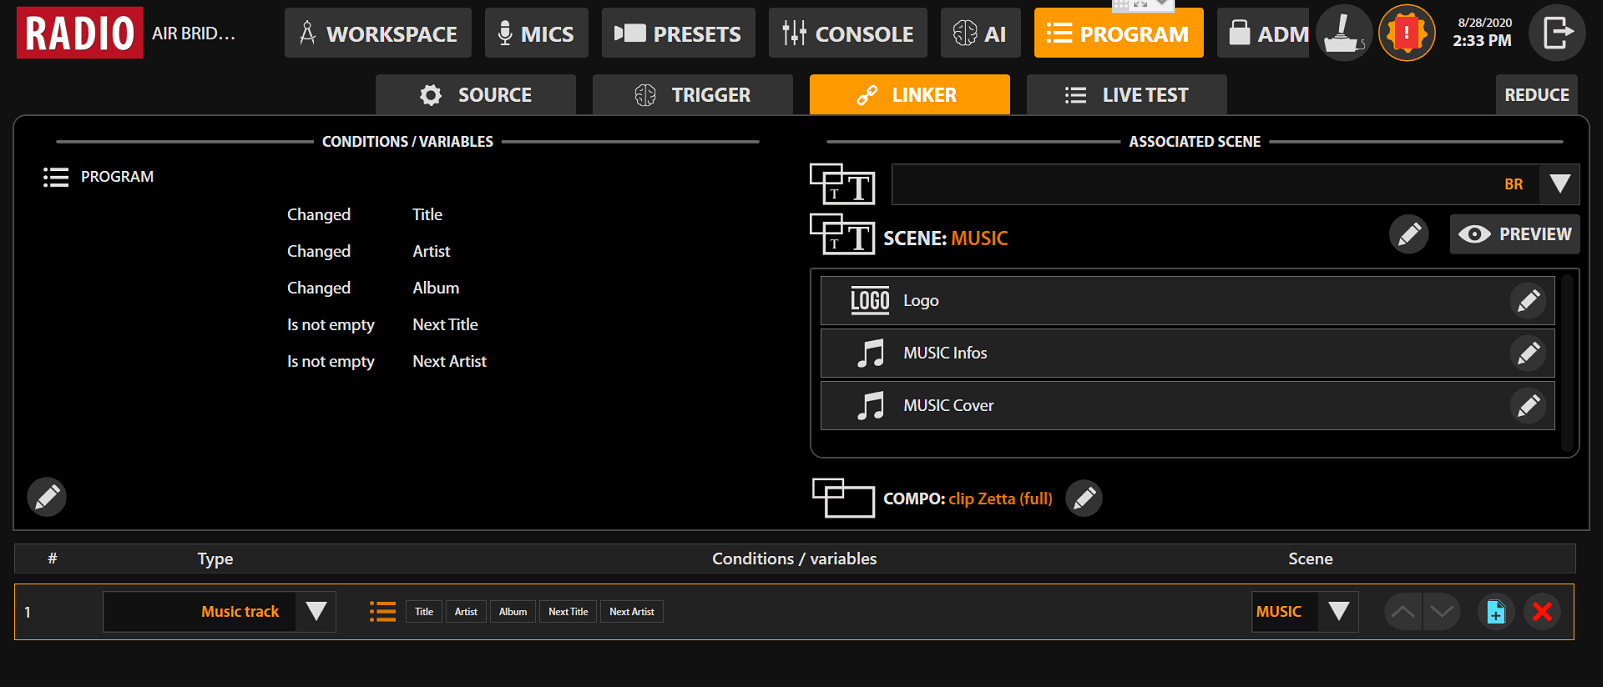
You can view the different Title elements that thus comprise the comp used in the background.
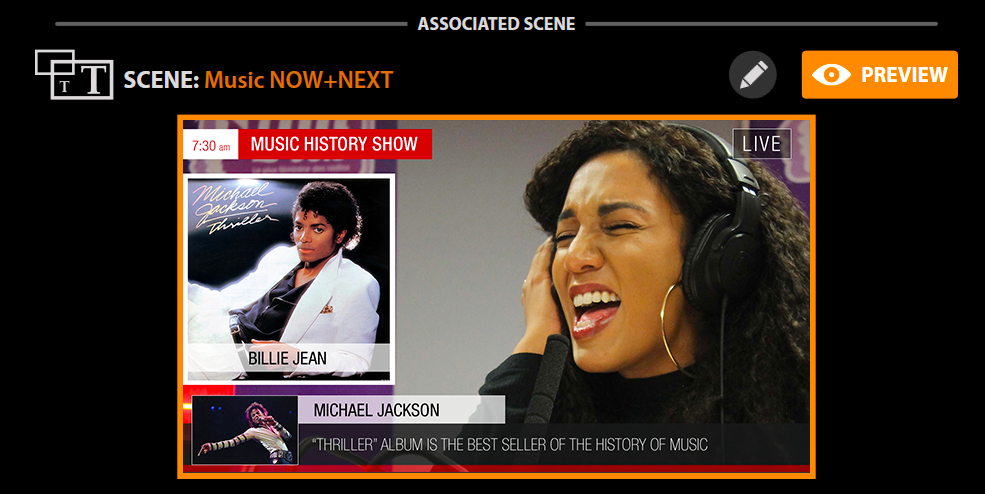
Click on in order to preview a rendition of the scene:
If you would like to modify it, click on in order to re-open the scenes editor.
Now we will revisit the conditions for beginning a scene. At this stage, once a “Music Track” event is received, this scene shall be displayed. You may refine the conditions via CONDITIONS / VARIABLES on the left-hand side.
Adjustment of the conditions for starting a scene
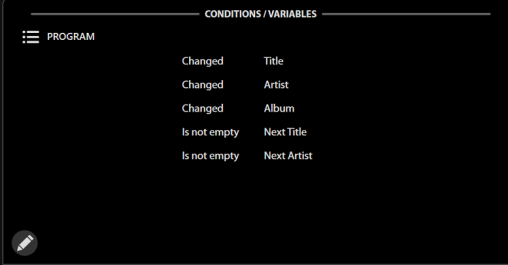
Here, 5 conditions are listed regarding the metadata received by the program. Multicam must receive the Title, Artist and Album variables. In addition, the Next Title and Next Artist variables are expected with a non-empty value.
You can adjust the conditions by clicking on .
.
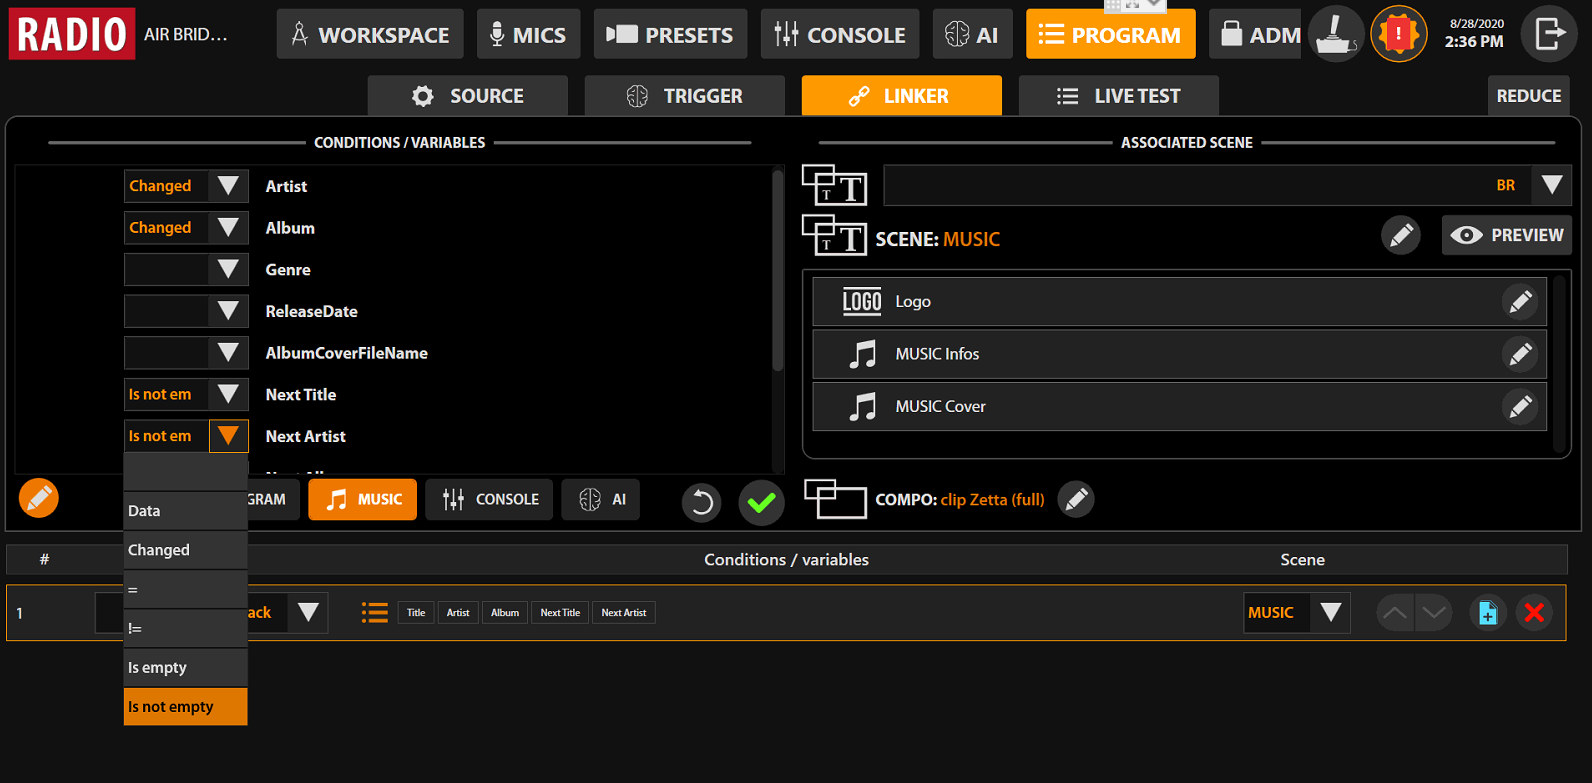
You can specify the conditions according to:
- PROGRAM
Variables contained in the metadata received from the Playout Automation Software - MUSIC
Variables specific to a Music Track item in the metadata received from the Playout Automation Software - CONSOLE
Conditions on the status of the microphones - AI
Conditions regarding automatic filming
The conditions are expressed in the following way:
- Data
If the variable is received and contains data - Changed
If the variable is received - =
If the variable is received and equal to a specified value. You can use the * sign to accept any value. For example, if you want to specify as a condition: “Start with XX”, you should put “=XX*” - !=
If the variable is received and different from the specified value. For example, if you want to specify as a condition: “At least 1”, you must put “!=0” - Is empty - if the variable empty
- Is not empty - if the variable not empty
Scenes List
Scenes List allows you to create sequences of scenes linked with one condition.
First, choose Scenes List form the up-down scenes menu and you will see this interface:

Click on the  button to add scenes to the sequence.

You can add as many scenes as you want. For each scene you can set the time in seconds.

Also, you can change the order in sequence, delete or copy scenes.